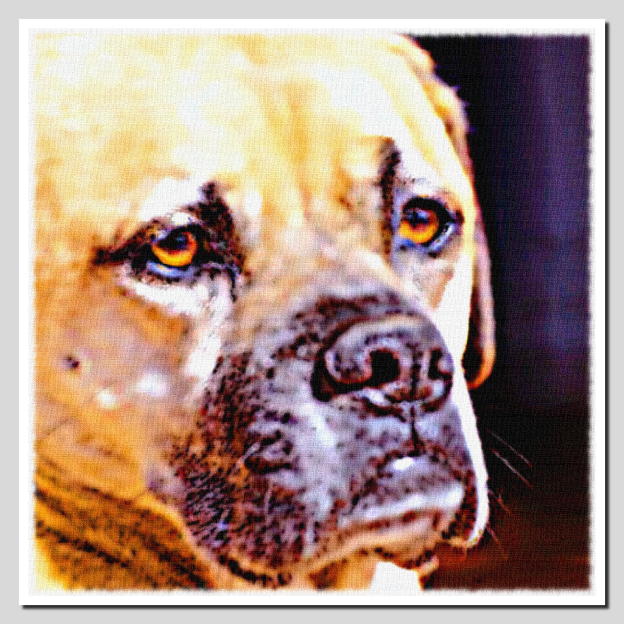
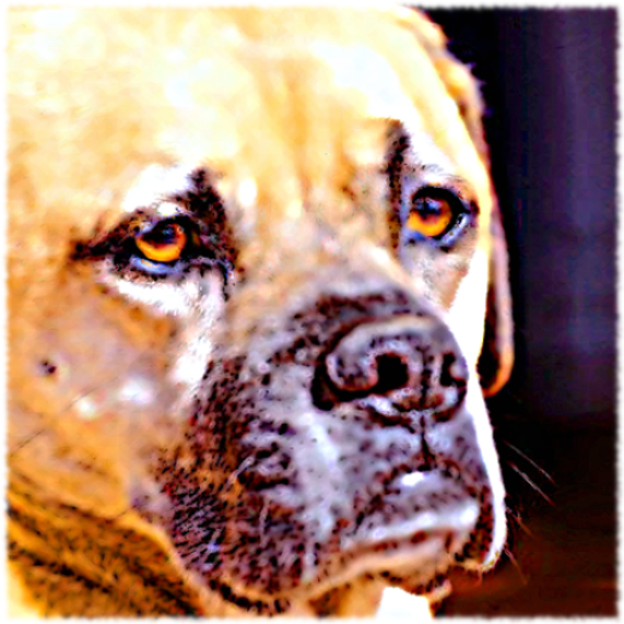
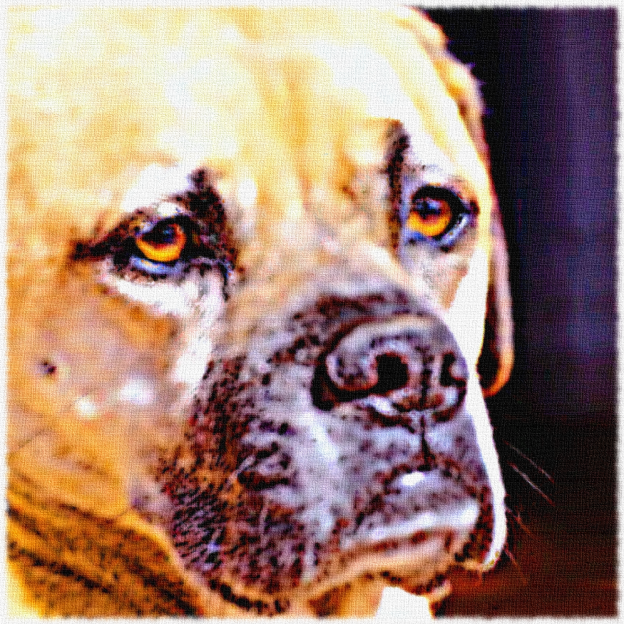
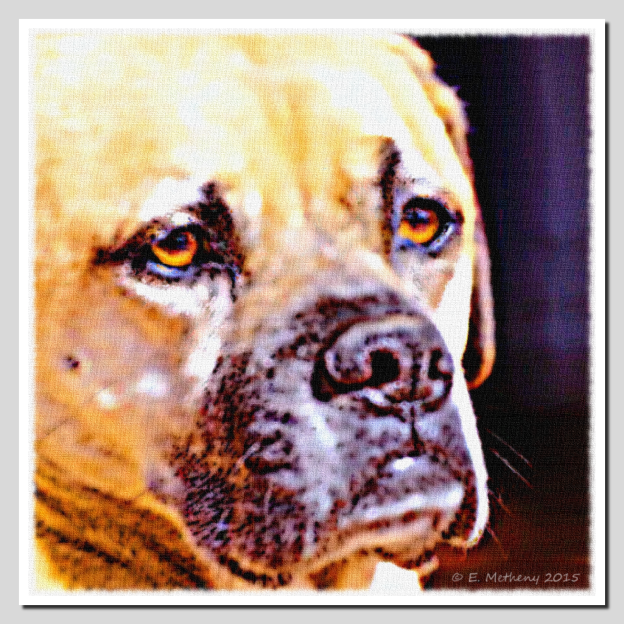
Now it is time to put the finishing touches on the photodoodle.
First I want to blow up the image to a width of 1500. I don’t always do this last – sometimes I will even shrink an image down early in the process, run some effects on it, and then blow it back up. But the effect of increasing the size starts becoming apparent the more modifications added on afterwards, so I try to keep it to a minimum by doing it last.
Next I start looking at a few effects to make the photodoodle look less like a photo. The “Jagged Edge” filter is one I use a lot – I like the dynamic feel it gives. But the filter has some problems, particularly when dealing with photos that have a lot of white or black, so I went with Fuzzy Edge instead.
In this case I also want to add a canvas overlay. I don’t always do that, but in this case I still have some concerns about the picture looking too much like a photograph, so I take an extra step to differentiate it.
Then I put a frame around it. I think a frame makes the work look more finished, but I usually don’t spend a lot of time on it. Typically I use the “Double Border” tool at it’s default settings.

Lastly I put the copyright information on, using EG Copyright


